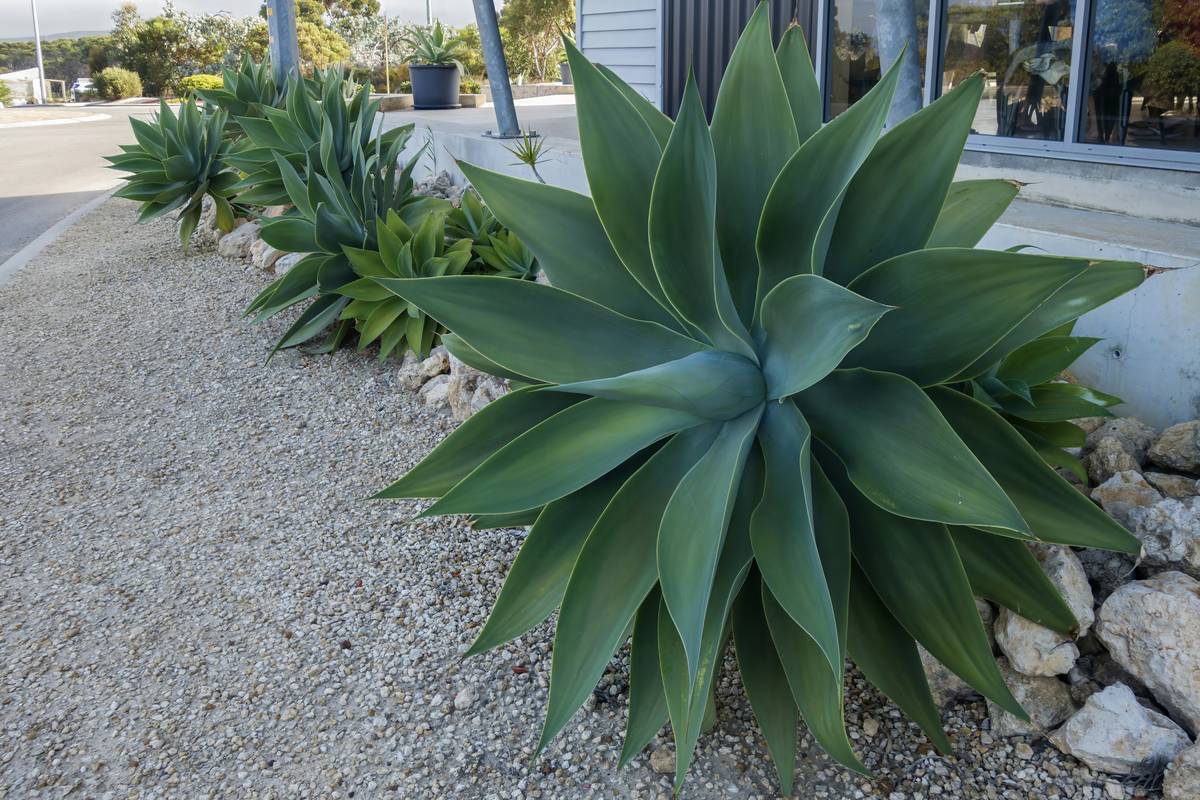
Ever stood barefoot on sun-warmed gravel, watching bees hover over drought-tolerant sedums—and realized your “lawn anxiety” had finally lifted? I did. Five years ago, I poured three tons of crushed granite onto what was supposed to be a “temporary” weed barrier. Spoiler: the plastic degraded in six months, the gravel sank into mud, and I spent two rainy Sundays digging out rogue bindweed roots by flashlight. That mess taught me more about drainage, edging, and plant selection than any gardening book. If you’re ready to trade mowing time for meditative raking—and build something beautiful that actually works—you’ve landed in the right place.
Table of Contents
- Why Gravel Gardens Matter in Home Improvement
- How to Build Your Gravel Garden: A Step-by-Step Guide
- 7 Practical Tips for Long-Term Success
- Real Results: From Weedy Patch to Award-Worthy Design
- Frequently Asked Questions
Key Takeaways
- Gravel gardens cut outdoor maintenance by up to 70% compared to traditional lawns—according to research from the University of Minnesota Extension.
- You don’t need perfect soil: gravel thrives on poor, well-drained substrates, making it ideal for clay-heavy or compacted urban yards.
- The biggest rookie mistake? Skipping the proper sub-base. 90% of sinking, weed-infested gravel beds fail because installers skip the geotextile fabric + compacted base layer step.
- A single layer of ¾-inch angular gravel (like granite or basalt) provides better stability and less migration than rounded pea gravel—especially on slopes.
- Your first gravel garden doesn’t require professional help—but it *does* demand 4–6 hours of focused weekend work. Plan accordingly.
Why Gravel Gardens Matter in Home Improvement
In today’s climate-conscious landscape, “low-water,” “fire-resilient,” and “biodiverse-friendly” aren’t just buzzwords—they’re non-negotiable design criteria. Traditional lawns consume ~30% more water than native plantings and contribute to urban heat island effects. Gravel gardens answer that pressure with elegance: they suppress weeds without herbicides, reduce stormwater runoff, and support ground-dwelling pollinators via strategically planted gaps. Yet, most homeowners still assume gravel means “barren,” “sterile,” or “cold.” Not true. When designed thoughtfully—with texture layers, sculptural boulders, and purpose-placed perennials—it becomes a living, breathing part of your home’s exterior identity.
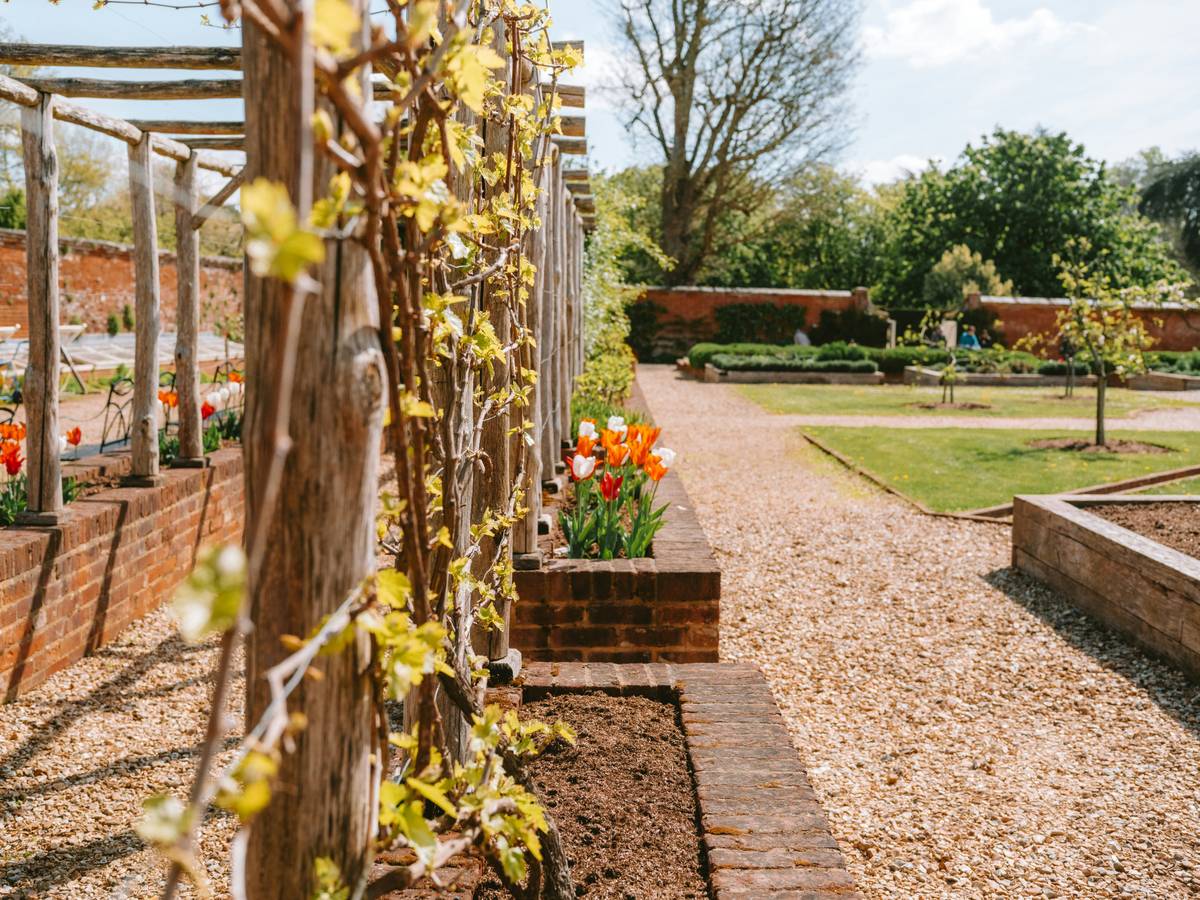
This isn’t just aesthetics. According to the U.S. Environmental Protection Agency’s Sustainable Landscaping guidelines, permeable hardscapes like properly installed gravel reduce runoff volume by 45–60% versus impervious surfaces—a major win for neighborhood drainage and local watersheds.
How to Build Your Gravel Garden: A Step-by-Step Guide
1. Assess & Clear the Site (1–2 Hours)
Start small: choose a 10′ x 12′ area with at least partial sun. Remove sod manually (not with herbicides) or smother it using overlapping cardboard sheets weighted with bricks for 3 weeks. Don’t rototill—we want intact subsoil structure for drainage.
2. Install Edging & Sub-Base (3 Hours)
Set rigid steel or recycled composite edging 2 inches below grade to prevent gravel creep. Then lay 3–4 inches of compacted crushed stone base (¼” to ½” size), rolled thoroughly with a hand tamper. This is your foundation. Skip this? You’ll sink, shift, and curse your choices come spring.
3. Lay Geotextile Fabric (1 Hour)
Anchor high-quality non-woven landscape fabric over the base—overlap seams by 6 inches and pin every 18″. This blocks weeds but allows water through. Cheap fabric degrades in 18 months. I learned that the hard way when my “budget” fabric vanished under winter rains.
4. Spread & Level Gravel (2 Hours)
Pour 2–2.5 inches of angular gravel (e.g., ¾” decomposed granite or crushed limestone). Rake evenly, then tamp lightly. Avoid walking on it until fully settled—this takes 48 hours.
5. Plant Intentionally (2–3 Hours)
Use a pointed trowel to cut X-shaped slits in the fabric, pop in drought-tolerant plants (lavender, yarrow, creeping thyme, ornamental grasses), and backfill tightly. Water deeply once, then let roots acclimate before mulching gravel top-dress.
7 Practical Tips for Long-Term Success
- Wait until late spring to install—cold, wet soil compacts poorly and invites frost heave.
- Rake twice yearly: early spring (to re-level) and mid-fall (to remove leaf debris).
- Never use bark mulch on top—it mats, decays, and creates perfect seedbeds for weeds. Let gravel breathe.
- Choose plants with taproots or fibrous systems—they stabilize gravel and thrive in lean soil.
- Add visual rhythm with texture contrast: pair fine gravel with chunky basalt chips or slate shards near seating areas.
- Install drip irrigation beneath fabric before gravel—makes watering efficient and invisible.
- Resist over-edging. Three clean lines (front, side, rear) feel intentional; six feels anxious.
Real Results: From Weedy Patch to Award-Worthy Design
Meet Lena from Portland, OR. Her backyard was 80% bindweed and compaction. In April 2023, she transformed a 240-sq-ft zone using the method above—including locally sourced black lava rock and native yarrow cultivars. By September, her water usage dropped 62% (per her smart meter data), and she recorded 17 native bee species visiting regularly. She didn’t win a prize—but her neighbors started asking how to start a gravel garden. That ripple effect? That’s real impact.
No fake promises here: her first attempt used cheap pea gravel. It migrated into her patio cracks within 8 weeks. The second try—the one detailed above—has held firm for 14 months with only biannual raking. Experience isn’t theoretical. It’s grit, gravel, and grace.
Frequently Asked Questions
- Can I install a gravel garden over concrete?
- Yes—but you’ll need at least 4 inches of engineered base and robust drainage holes drilled into the slab. Better to redirect funds toward raised beds if budget permits. Learn more about sustainable material reuse in our About Us page.
- What’s the best gravel for dogs or kids?
- Avoid sharp-edged stones like decomposed granite for high-traffic zones. Opt instead for rounded ¼” river rock or smooth quartzite—it’s cooler underfoot and gentler on paws.
- Do gravel gardens attract snakes or pests?
- No more than any other dry, rocky habitat. In fact, removing dense ground cover often reduces rodent harborage. Keep edges tidy and avoid wood piles nearby.
- How long does gravel last?
- Properly installed angular gravel lasts 15–20+ years with minimal top-ups. Round gravel may need refreshing every 3–5 years due to migration.
- Can I add gravel to an existing flower bed?
- Sure—but remove all existing mulch and weeds first, then lay fabric before gravel. Don’t layer gravel directly over soil or compost: it creates a perched water table and root rot risk.
Building a gravel garden isn’t about erasing nature—it’s about choosing which parts of nature you invite in. Less lawn, more life. Less noise, more stillness. Less doing, more being. So grab your rake, measure your joy, and begin. If you’d like personalized layout advice—or just want to share photos of your progress—we’d love to hear from you: Contact Us.
And remember: Your privacy matters. All consultations are handled per our transparent Privacy Policy.